
The second fastest way to read large Excel tables in Power Automate
I’m a great fan of Matthew Devaney’s blog on Power Apps, Power Automate and everything else on Power Platform development. His latest post, The fastest way to read large Excel table in Power Automate, immediately got my attention, because we’ve just finished a project for a client in which this feature is crucial. I’ve analyzed Matthew’s technique, and adopted it, even though it requires a Premium connector to run the flow.
In this post, I’m sharing a simplified version of the flow, without the Premium connector, but with a small Excel Office Script that does the job nicely. The end result is not as fast as Matthew’s, but it works - and opens a new door to a lot of new great things in Excel automation!
The challenge: a “real time” sound notification every time a new order is placed
Our client, a transportation company, challenged us to build an app that plays a sound every time they receive an order for a customer. They are based here in Portugal, and ship dozens of trucks throughout all Europe carrying all sorts of goods. Time is crucial, and, sometimes, they delay the deliveries because no one is paying attention to the order book. If a customer places a new order, they must act immediately in order to avoid unnecessary delays.
The challenge was thus to display a Power App on large screens in the multiple delivery points across the country that displays a map of Europe with the destination points and a table with the order details. They wanted to play a loud sound (a horn, what else?) to grab everyone’s attention that a new order has just arrived!
This is indeed a funny project and quite different from the type of projects we’re used to work on. But it was a bit puzzling when the client told us that the order details are entered manually on a large Excel table and the app should respond in “real time” whenever a new order was placed.
Assuming “real time” is impossible to achieve with Excel and Power Apps, we took the challenge to play the horn sound and update the map and table in Power Apps, within one minute after a new row was added to the table.
The solution: get Power Automate to read the Excel table quickly
I’m not going through all the details of this implementation in this post, but to focus only on the concept of getting the data into Power Automate as quickly as possible.
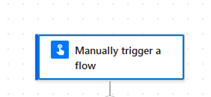
So, let’s begin with a manually triggered flow:
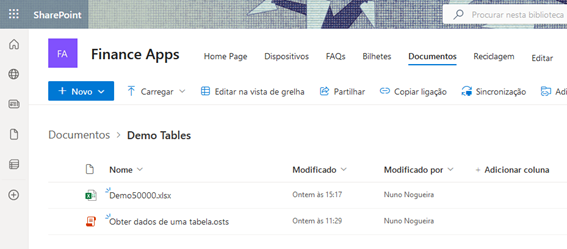
The next step is to call an Office Script that runs on the Excel table we want to get the data from. So, in order for this to work, we need to have the Excel file and the script somewhere on SharePoint or OneDrive.
I have them both on a SharePoint site within a specific folder, as the image below shows:
The Excel file contains a sample demo table for demonstration purposes. Let’s call it “Table3” and place it on Sheet 3:

This table contains 50.000 rows and 4 columns and I need to get this data as fast as possible into Power Automate. If we use the standard “List rows present in a table” step within Power Automate, it would take, for sure, more than 3 minutes.
Not good. Enter Office Scripts. To make a long story short, Office Scripts are, well, scripts that allow the automation of Excel. Just like VBA, they allow for automating lots of repetitive tasks in Excel in a very efficient way. They are stored in the cloud and can run on any Excel file that is also stored within the same domain.
This means that you can write a script that is not associated with a single Excel file, but is independent of it, and can run anywhere. The best of all, you may also call Office Scripts from within Power Automate.
I believe this a great feature with the potential to create many good things.
So, this is the script that we need to call from our flow:
function main(workbook: ExcelScript.Workbook) {
let ws = workbook.getWorksheet("Sheet3");
return ws.getTable("Table3").getRange().getValues();
}
It is a function that runs whenever the script is called. Thus, the name of the function is main and its argument is the Excel Workbook it will run on.
The definition of the function itself contains only two rows:
- The first row defines ws as the worksheet in want the script to be executed. In our case, it is Sheet3
- The second row, returns the values within the whole range of the table we want to extract the data from, including headers. That is Table3.
This is of course a simple script and I’m not going to explore the full details here, nor the language it runs on: TypeSript. If you want to learn more about it, you may follow this link.
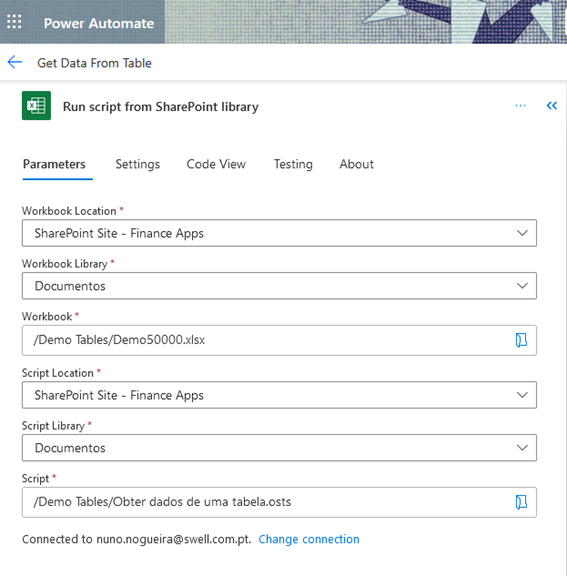
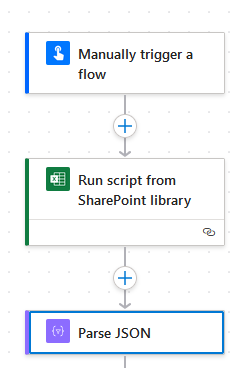
So, the second step of our flow is the following:
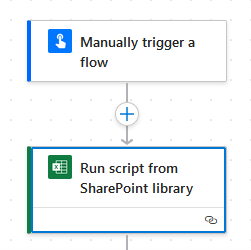
So, the flow now looks like this:
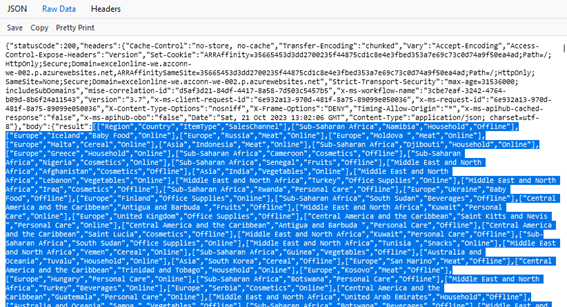
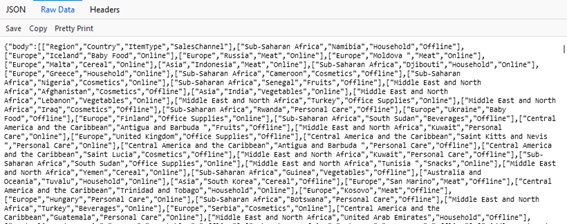
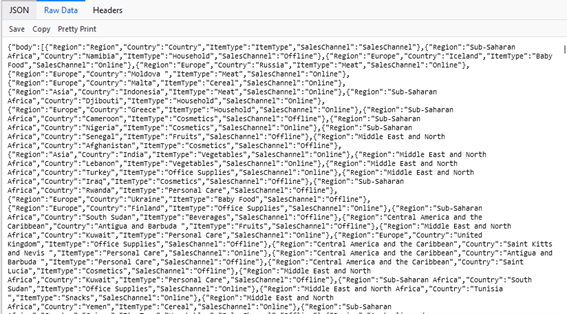
If we run the flow as it is now, we should get the following outputs of the step “Run script from SharePoint library”:
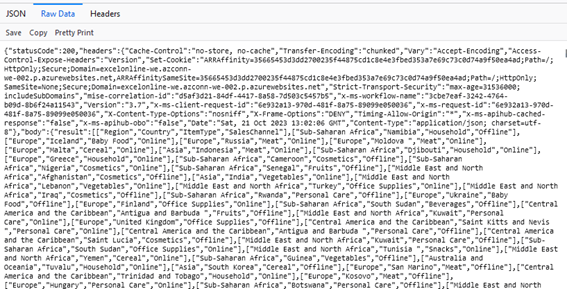
It is a bit scary, but at least we know the flow and the script ran without issues and the data has been retrieved into Power Automate. If we copy the whole “Result” array from this, as shown in the image below, we should be able to parse the result:
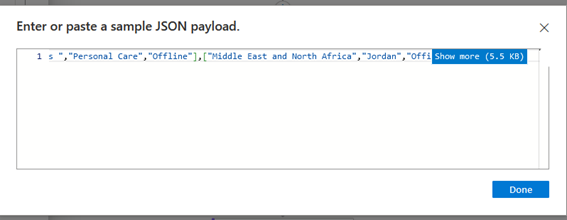
This will be the input for the next step: Parse JSON. Add this step and enter the highlighted text into the “Insert a sample JSON Payload” box:
So, these are the details of this step:
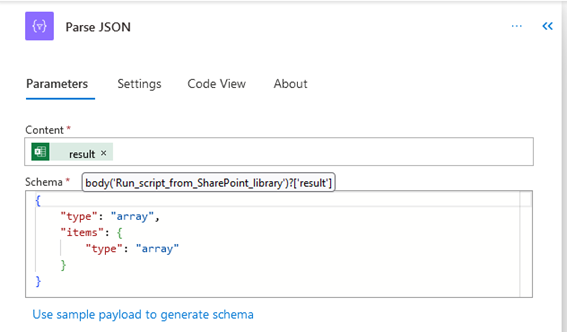
In the “Content” box, the code is:
body(‘Run_script_from_SharePoint_library’)?[‘result’]
And this is the whole flow until now looks like the following:
Let’s test it again and see what happens. The output of the last step seems promising. The data looks pretty good!
So, finally, we need to map the columns we need, in order to get the data in the format we need it. Let’s add a Select action and map the fields as follows:
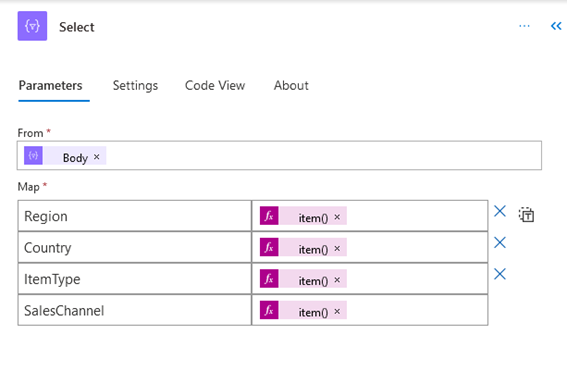
The code in the From box is:
body(‘Parse_JSON’)
And the code of each of the fields is the following:
- Region:
item()[0] - Country:
item()[1] - ItemType:
item()[2] - SalesChannel:
item()[3]
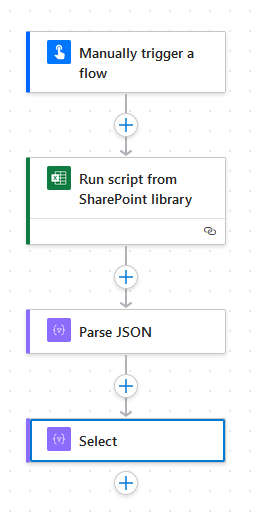
And that’s it! This is how the flow looks like in its final version:
Time to test it! We run the flow and watch the results. The execution time is only 12 seconds (although this result varies slightly every time we run the flow):

And the results are what we expected:
So, here it is: no Premium connector and still a great result for the purpose of the project!
